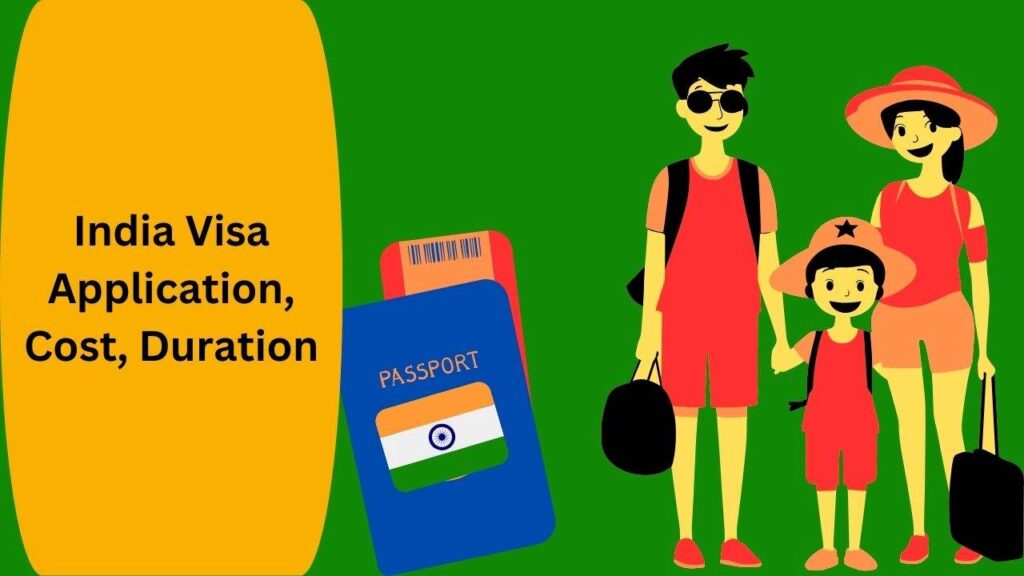
Want to know how to do online India Visa Application? Learn what you need for an online India Visa Application, the process of applying online, and detailed information about Indian visa processing.
India is our neighboring country. We need to go to India for travel, medical treatment, business, jobs, etc. For this, we need a visa. Although getting a visa can be complicated, you can now apply for India visa application online from home.
Required Documents for India Visa Application 2024
To do India visa application, you need some important documents. These are mainly used to verify your identity:
- Original and photocopy of your passport
- Original and photocopy of your national ID card
- Two colored visa-sized photos (2 inches x 2 inches)
- Proof of your current and permanent address (like a copy of your electricity bill or any utility bill)
- If you are a student, a copy of your student ID; if you are employed, a No Objection Certificate (NOC)
- Bank statement for the India visa: You must have the ability to endorse at least $150 in your bank account. Also, your bank account should have had a balance of at least 20,000 BDT in the last six months. If you are a student, you can show your father’s bank account.
- If you are applying for a tourist visa, the address of your booked hotel
- A reference from someone in India
- Your family details
- Vaccine certificate
Cost of India Visa Application
Bangladeshi passport holders do not have to pay a visa fee to apply for an India visa. However, you need to pay a processing fee of 800 BDT. India Visa Application process is much easier then any other country. For India Visa Application you don’t need to pay any fee. So India Visa Application is cost fee.
How to Apply for an India Visa Online
To apply for an India visa online, first, visit the website indianvisa-bangladesh.nic.in. Then fill in the applicant’s information, passport details, address, family and professional information, and reference. Upload your photo, verify all the information, and submit the application. Print the application form and submit it along with the required documents to the India Visa Application Center to complete the application.
In this age of technology, applying for a visa online from home is easy. It reduces our risk, hassle, and cost, and saves time. The step-by-step online India visa application process with pictures is explained here.
Step 1: Fill Out the Indian Visa Form
First, open your mobile or computer browser and go to the website indianvisa-bangladesh.nic.in.
Here, click on “Online Visa Application” to open the India visa application form. Follow these steps to fill out the form:
- Select Your Country: At the beginning of the application form, choose your country.
- Select Indian Mission Office: Based on your region in Bangladesh, you will get options like Dhaka, Chottogram, Rajshahi, Rangpur. Choose your Mission Port.
- Provide Personal Details: Enter your nationality, date of birth, and email ID.
- Expected Date of Arrival: Give an estimated date when you will need the visa.
- Visa Type: Select the type of visa you need from the options provided. The options may include Tourist visa, Transit visa, Medical visa, Missionary visa, Official visa, Employment visa, or Entry visa.
- State Your Purpose: Mention the reason for your visa application.
- Captcha: Fill in the captcha text shown in the “Enter Above Text” box and click “Continue” to move to the next part of the application.
By following these steps, you can complete the first part of your Indian visa application.
Step 2: Fill in Applicant Information
- Enter your Surname (last name) and Given name (first name) as per your passport.
- Select your Gender.
- Write the name of your District City in the City field.
- Select Bangladesh as your Region of Birth.
- Enter your NID number and select your Religion.
- In Visible Identification Marks, write your identification mark. You can simply write “NID Card” here.
- Provide your Educational Qualification.
- Select how you are Bangladeshi. If by birth, select “By Birth”.
Step 3: Provide Passport Details
- Enter the correct information from your passport.
- Enter your Passport Number, Place of Issue (where the passport was issued), Date of Issue (when the passport was issued), and Date of Expiry (when the passport will expire). You can find all these details on the main page of your passport.
- If you don’t have any old passports, select “No” in the Any other valid passport option. If you do have an old passport, fill in the details and click “Save and Continue” to move to the next step.
Step 4: Provide Current and Permanent Address
- Fill in your Current and Permanent Address.
- In Present Address, enter your house number, village/city, district, postal code, and mobile number.
- If your Present Address is the same as your Permanent Address, check the box for “Click here for same address”. If they are different, fill in the Permanent Address fields.
Step 5: Provide Family Information
- Provide some basic family information.
- In Father’s Details, enter your father’s name, nationality, birthplace area, and country of birth.
- In Mother’s Details, do the same for your mother.
- Enter your marital status and select “No” in the option below it.
Step 6: Provide Occupational Information
- Provide your professional information.
- First, enter your current occupation, the name of your workplace/business, and your job title.
- Enter the address and phone number of your workplace.
- If you are not associated with any administrative organization, select “No” in the designated option.
Step 7: Provide Visa Information
First, it will show the type of visa based on the one you selected earlier.
- If it’s a tourist visa, write down the places you want to visit.
- For the “Duration of visa,” enter the validity period of the visa.
- Then, select the expected date of travel and the planned travel route.
- If you have never had a visa for India before, select “No” in the relevant options.
- If you have traveled to any SAARC countries, provide that information; otherwise, select “No.”
Step 8: Provide References in India and Bangladesh
- First, provide a reference from India, such as an inviter or someone you know there. Include their name, address, and mobile number.
- Next, for emergency contact, provide a reference from Bangladesh. Include their name, address, and phone number.
Step 9: Provide Additional Information
- Here, you will be asked questions about any legal issues. Select “No” for all options.
- Tick the empty checkbox at the bottom.
- Click on “Save and Continue.”
Step 10: Upload Your Photo
- Upload a photo by clicking on “Upload Image.”
- After uploading, click on “Continue.” The photo should meet the following requirements:
- Format: JPEG
- Size: Between 10 KB and 1 MB
- Dimensions: 350×300 pixels
- The photo should be clear with a white background.
Step 11: Provide Accommodation Details in India
- If you have a hotel booking, provide the hotel’s name, address, email, and phone number.
- Then click on “Continue” to complete your visa application.
Step 12: Submit the Application and Print the Form
- You will see a “Confirm Details” page. Review the information you provided.
- Scroll down and check all the information again. If there are any mistakes, click “Modify” to correct them.
- If everything is correct, click “Verified and Continue.”
- Your application is now complete.
Downloading Your Application:
Click on the “Print Form” option below to download your application form. Save it because you will need it for your India visa processing and to receive your visa.
India Visa Processing Time
You do not need an agency to process an India visa. First, complete your application online following the guidelines. Then, pay the visa fee. Once the fee is paid, the visa processing will be completed within 3-7 business days.
India Visa Fee
You need to pay 800 Taka as the processing fee for the India visa. This payment must be made online within 7 days of your application. To pay the visa fee, visit payment.ivacbd.com, select “High Commission,” and enter your Web File No. Fill in your personal information and pay the visa fee online.
You can pay the fee through online payment gateways, Bkash, Rocket, or a bank account. After the payment, you will receive a receipt confirming your payment. Download this slip as a PDF. You will need to submit this payment receipt as proof of payment with your application.
India Visa Update
All visa centers, including the India Visa Center at Jamuna Future Park, are currently accepting visa applications and processing visas.
Conclusion
By following the online India visa application process, you can easily get your desired visa. This method helps you avoid fraud and extra costs by obtaining the visa yourself.
Today’s discussion was about the online India visa application process. We aimed to provide you with complete information about India Visa application throughout the post. For more useful information, visit our website regularly. Thank you.
Read more: Italy Visa
Pingback: Medical Visa Process For India - Jene-Nin